Strawberry CheseCake

I remember making a no bake cheese cake from a recipe book printed by the Round Table group in Bangalore. It used Panneer/cottage cheese, milk maid and fresh cream. I somehow could not remember the recipe. So I browsed through some no bake cheesecake recipes and took a little bit of that and a little bit of this and out came a really good cheese cake. Take my word for it, it is the best cheesecake that I've made so far.

Ingredients :
1. 1 and 1/2 tubs of britannia cream cheese - about 275g
2. 1 tub of Nestle Strawberry Yoghurt
3. 1 tub of fresh strawberries
4. 200g of sugar + 2 tbsp
5. 200 ml of fresh cream
6. 1tbsp gelatin
7. 100 ml boiling water in which to dissolve the gelatin
8. 1 large packet of marie biscuits
9. 125 g of unsalted butter melted.

How to make :
1. Line your tray(in which you want to set the cake) with cling wrap such that the cling wrap is now your non-stick base.
2. Crumble the marie biscuits.
3. Add the melted butter to the biscuits.
4. Push this mixture to the botton of your tray and layer it evenly. Keep in the fridge to set.
5. Cream together the cream cheese and 200g of sugar. Try not to beat too much - I used the pulse option in my food processor.
6. Dissolve the gelatin in the boiling hot water by stirring. You could use the microwave on low power too to speed the process.
7. Add the strawberry yoghurt, fresh cream and gelatin to the cream cheese mixture and beat till creamy and smooth. Again, don't beat too much.
8. Get the tray out of the fridge. Pour the cream mixture over and put it back in the fridge to set. It needs about 4 hours to set.
9. Beat the fresh strawberries with the 2tbsp sugar (add more if you like) into a rough pulp.
10. Spread the above pulp on top of the cake when set. Garnish with fresh strawberries and serve. Do take out of the fridge at least 30 minutes before serving to soften the lower layer and ease your job in cutting.

I had made this for my hubby's birthday and therefore tried to pipe the pulp onto the cake but failed at the cone. I don't have a piping bag. I therefore used a toothpick and FREEHAND.


0

Vegetable Fried Rice with scrambled egg

I love Fried Rice. I remember waiting to get home to eat mom's fried rice. Well, I went to a day cum boarding school so I was served lunch in school. Hence, I had to wait to get home to have the fried rice before dinner.
Well, to my mom for being a very good cook, here goes my version of the fried rice.

Ingredients :
1. 2 cups of cooked rice - best cooked the previous day. If making fresh, make sure you let it cool completely     and then do the rest.
2. 1 1/2 cups of vegetables - finely chopped carrots/beans/cauliflower/corn
3. 1/2 cup finely chopped capsicum
4. 1 medium onion finely chopped
5. 1 tablespoon finely chopped garlic
6. 1 tablespoon finely chopped ginger
7. 2 tbsp soya sauce
8. 1 tbsp oyster sauce
9. 1 tsp vinegar
10. 1 tsp pepper
11. 2 tbsp oil
12. 1 egg scrambled - do the scrambling separately in a different pan
13. salt to taste - be careful if you've salted the rice while cooking and do remember that soya sauce is salty too

How to make :
1. In a wok/kadai/pan, pour in the oil. Before the oil warms up, put in the garlic and ginger. Fry them till them brown.
2. Add the onions and fry till translucent.
3. Add the vegetables. Remember to do all of this on high heat. Hence, do have all ingredients on hand.
4. Once the veggies are almost cooked, add the capsicum. Add salt - be careful about the amount.
5. Fry for 30 seconds. Add the sauces one after the other, taking care not to let any of them burn.
6. Add the rice. Mix everything together.  Add the egg and sprinkle the pepper on the top.

Note :
1. You can skip the oyster sauce. Use 1 more tbsp of soya sauce instead.
2. You could use 5 bulbs of spring onion instead of an onion. Use the green part as a garnish.
0

Strawberry Oats Cake

It is strawberry season here and I just dunno why but I picked up a pack of strawberries while we grocery shopping this weekend. When I found a tiny amount of oats remaining in a jar, I knew that I had to make the strawberry oats cake that I had seen on Aparna and Greeshma's blog - here. I was just hoping that I had the right amount of oats. Gingerly I opened up my laptop and found the recipe which is actually from this site. I was happy to see that it required just 1/2 a cup of oats. Since, it is just two of us, I usually make cakes with a cup of flour so I had to just halve the ingredients and 1/4 cup of oats is all that was needed.

As you all do know me by now, I just had to put in a twist or two.

Ingredients:
1. 1 cup of whole wheat flour
2. 1/4 cup of quaker quick coooking oats
3. 1 teaspoon of baking powder
4. 1 whole nestle strawberry yoghurt

5. chopped walnuts
6. A pinch of salt

7. 1 egg ( the original recipe indicates the use of a ripe banana which was, in my case, amidst gastronomical juices today)
8. 1/2 cup of sugar
9. 1/4 cup of honey
10. 1/2 to 3/4 cup of strawberries chopped (The cake was very moist due to the number of strawberries that I had put in. This reflects a modified moderate amount)
11. 1/4 cup oil
12. 2 tbsp of milk - can avoid if the batter is smooth

How I made it :
1. Sieve together the salt, baking powder, atta. Add the oats and walnuts.
2. Beat the egg with sugar, honey, oil.
3. Once the mixture is creamy, add the yoghurt and the dry mixture of step 1. Fold in the ingredients.
4. Add the strawberries. Mix softly. Add the milk if the batter is too thick and lumpy.
5. Bake for 45 minutes in a pre-heated oven for 45 minutes at 180 degree C.

This cake is quite moist and therefore can't be kept for more than a day.


0

Beetroot halwa

I know most of my readers would not have opened up this post seeing the word "beetroot". If you've made it till here, I salute you for that. Beetroot is one good veggie for us. But that is not the reason I chose to make the halwa out of it.

Well, Hubby and I visited "Lumiere - The organic restaurant" on Christmas 2011. They have a very lovely place with great ambience. Fortunately, it was one restaurant that I've finally found in Bangalore that is not crowded on a holiday. I think it is attributed to the fact that most people misunderstand "organic" for "vegetarian". Ironically though, their board does have a picture of a prawn :) Check out their website here. Well, as a welcome drink, we were served a pinkish liquid. I assumed it was due to the root that is dissolved in the water by Mallus. One taste and I knew I was wrong, we were given a beetroot with lemon juice. It was really good. Hence, this week while grocery shopping, I picket up a few beetroots to try out this simple juice that was detailed out to us by the ever helpful waiter. However, I was still wondering what I would do with the beetroot pulp that would remain once I had extracted some juice. One moment I thought I'd make something like a tikki but with the success of the carrot halwa, I just knew what to do with the pulp. So here's how I made the beetroot halwa. I did not have milkmaid on hand this time so skipped it.

Ingredients :
1. 4 medium sized beetroots grated or blitzed in the food processor
2. 300 ml of milk
3. 60g of khova
4. 1 tablespoon of sugar
5. 3 tbsp ghee
6. 1 elaichi

How I made it :
1.  Heat up the pressure cooker. Pour in the ghee.
2. Add the elaichi. Once it is aromatic, add the beetroot. Fry for 2 minutes.
3. Add the milk. Close the cooker and boil till 5-6 whistles.
4. Once the pressure releases, cook on sim, add the khova and keep stirring frequently till all the milk is absorbed.
5. Add the sugar.
6. Turn off heat  once sugar dissolves.
7. Garnish with chopped dry fruits and serve. I dumped a handful of cashews and almonds in the microwave for about 1 minute. Once they had cooled, I chopped them. This makes them more crunchy.

Hubby certified that the beetroot halwa was more tasty than the carrot halwa. I guess it is just that since it was my second attempt, I got a better hang of it.
1

Carrot halwa

Off late, due to the increase in percentage being taken by the food coupon companies, many biggies in the supermarket business have stopped accepting coupons. I was very worked up when I found a bundle of coupons for 4000 rupees lying in the back of my hubby's cupboard. Yesterday, while going for a walk, I found that a small department store near my place accepts the coupons. Hence, hubby and I went on a shopping spree :) I found really good delhi carrots as well as khova. Hence, I decided to make carrot halwa.

Ingredients
1/2 kg carrots grated
1/2 litre milk
100g khova
1/4 cup milkmaid
3 tablespoons sugar
1 elaichi powdered/smashed
3 tablespoons ghee
Dry fruits to garnish

How to make :
1. Heat the ghee in a pressure cooker. Add the carrots. Fry the carrots for about 3 minutes. 
2. Add enough milk to cover the carrots. 
3. Pressure cook on high for 5 whistles. 
4. Once the pressure releases, add the remaining milk and keep stirring. Add the elaichi.
5. After about 8 minutes, add the milkmaid and the khova. Continue stirring. Use a glove to protect your hands from the steam while stirring.
6. This takes sometime. You will need to keep stirring to ensure that it does not stick to the bottom. Once you feel that the halwa has absorbed all the milk, add the sugar.
7. Turn off heat once sugar dissolves.

This was the first time that I tried making carrot halwa and it was truly delicious.
1

Vendakka Kara Kuzhambu/South Indian Ladies Finger/Okra curry

For a long time I have been trying to master kara kuzhambu. Every time my friend Anitha would bring the same in her lunch box, I would say to myself "Now, this is one dish I need to master.". My aunt's maid in Coimbatore used to make really good Kara Kuzhambu/Vatha Kuzhambu. I miss that. Finally, today after viewing this link, and with a few modifications of my own, voila, I got the perfect kara kuzhambu. It was truly delicious certified by Pras as well as Latha, the owner of the house which we've rented. Latha is an excellent cook and she too, like me, keeps experimenting and trying out new dishes. We keep sharing our recipes and food :) I did borrow some tips that she had given me for this yummy kara kuzhambu.

This curry has the sweetness of the fennel seeds, the bitterness of the methi/fenugreek and the sourness of the tamarind - get the proportion right and you won't stop licking those fingers.

Ingredients
Ladies finger/okra - 20 cut into 1 inch sized pieces
1 tsp mustard seeds
1 tsp fenugreek/methi seeds
1 tsp fennel seeds
3 tbsp oil
1 medium sized onion chopped
1 tomato chopped
1 and 1/2 cups of tamarind juice (soak a lemon sized tamarind ball in hot water and extract the juice)
2 tbsp sambar powder
1 red chilly
1/4 tsp turmeric powder
Salt to taste
Water as needed
1 country tomato (optional)
1/2 tsp garam masala powder

To grind into a fine paste after dry roasting:
10 shallots or 1 small sized onion chopped
5 cloves of garlic
1/2 tsp cumin seeds
3/4 tsp coriander seeds/powder - I did not have seeds to directly used powder at hand
1/2 cup of grated coconut
4 red chillies (adjust as per spiciness desired)

Steps to get that yummy kara kuzhambu:
1. Dry roast the ingredients which need to be ground into a paste. This takes some time and should be done on low heat until the coconut starts to brown. This adds to the colour of the dish. Cool and grind to a fine paste. Add water as needed. If you are one of those who do not like fenugreek seeds, please add them after about 5 minutes of roasting and powder along with the rest. I prefer adding them to the tadka.
2. Heat one tbsp of oil. Fry the okra pieces till you can see them beginning to brown and keep aside. Do this with care so as not to break the okra pieces.
3. Heat the other 2 tbsps of oil. Add the mustard and fenugreek seeds(Skip this if you've added it to step 1). Let the mustard splutter. Add the red chilly and fennel seeds.
4. Add the onions and fry till translucent.
5. Add the tomato and fry till cooked and mushy.
6. Add the paste and fry for about 5 minutes on sim.
7. Add turmeric powder, chilly powder and sambar powder.
8. Add in the tamarind juice and boil away - may be for about 15 minutes.
9. By this time the fat should've separated - you can see small rounds of oil floating on top. Add salt, the okra, garam masala powder. Adjust consistency. Add a little more water.If you do have the country tomato, chop it into 4 quarters and drop them in - this gives it a more restaurant look. Boil for 5 minutes and voila - it is ready.

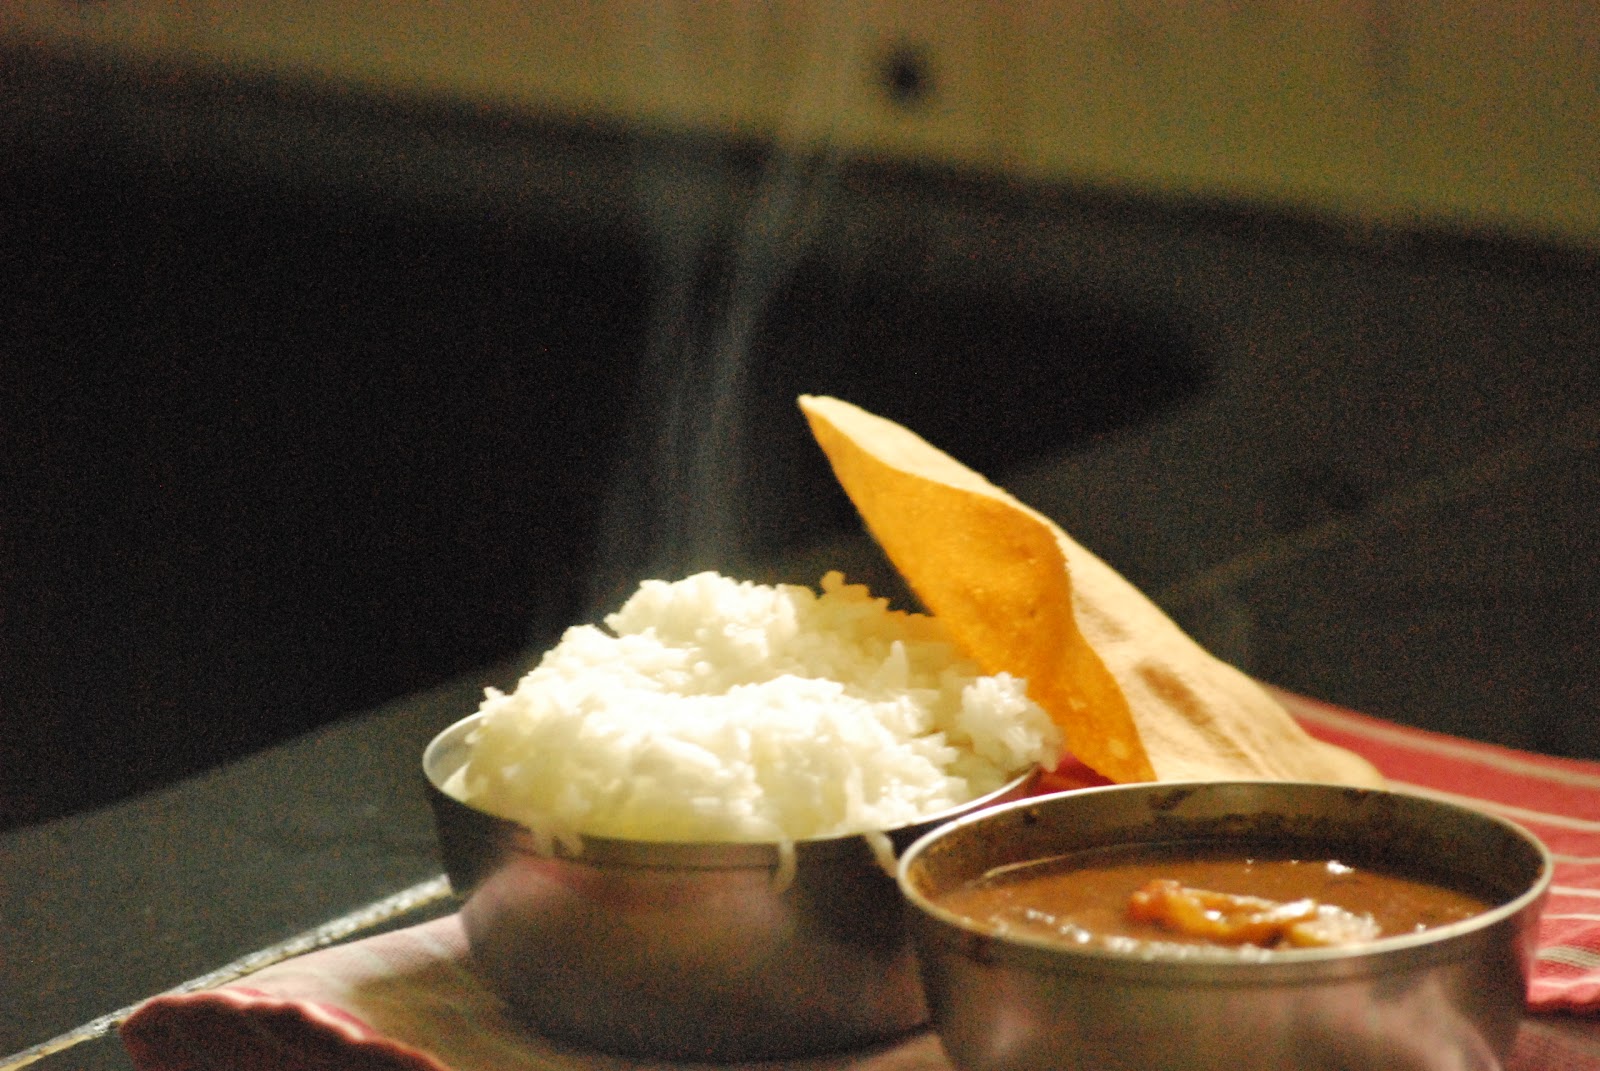
I served it with hot rice and popadams.

Tips :
1. Wash the okra and wipe them dry with a cloth or tissue. Lesser the water on them, the lesser the sliminess while cooking, meaning easier cooking.
2. The longer this cooks the better.
3. You could replace okra with drumstick/brinjal/garlic.
4. Since this dish contains coconut, it may get less spicy, so I suggest not reducing the red chillies.
5. The basic trick is to get the tamarind to sambar powder ratio right. That makes all the difference. Keep adding sambar powder a little by little to the tamarind water and keep tasting, you will hit the G spot.
0